
Last updated October 16, 2026
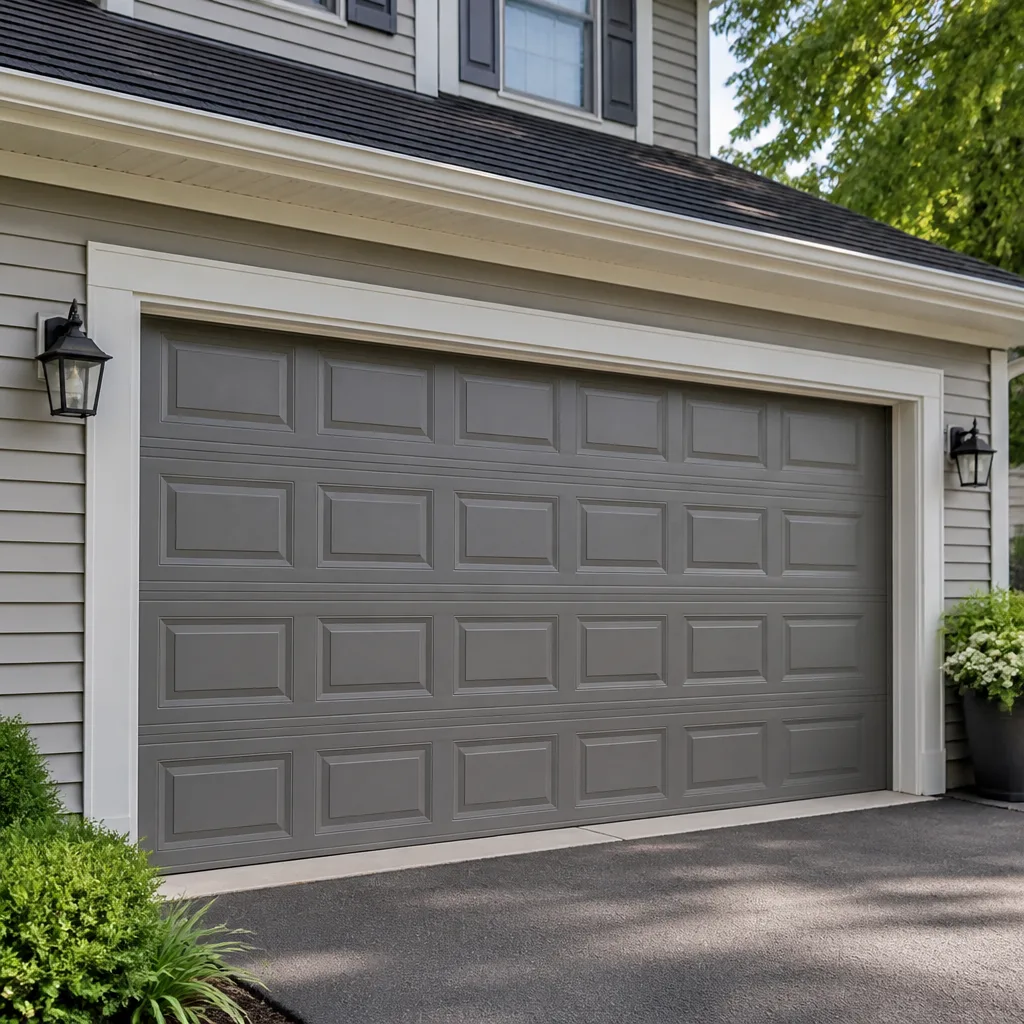 Raised-panel steel
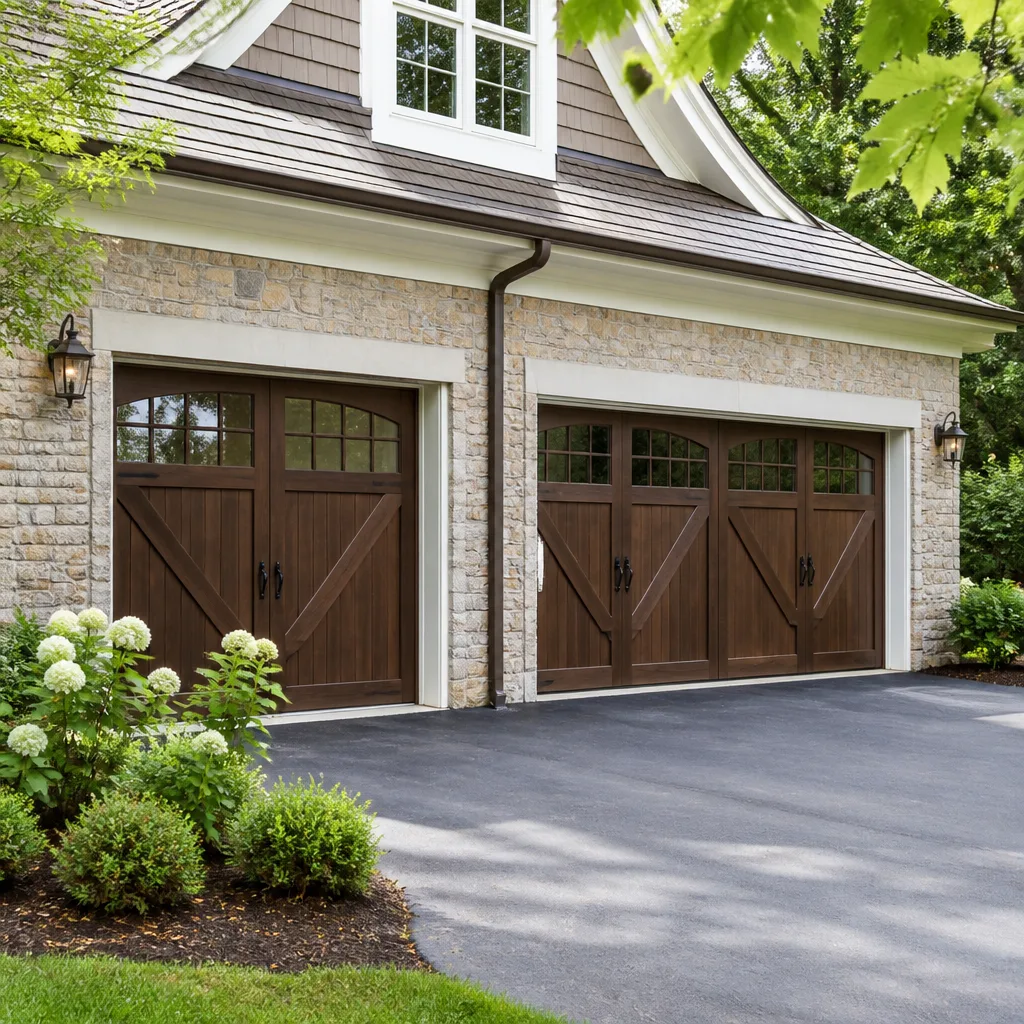 Carriage house
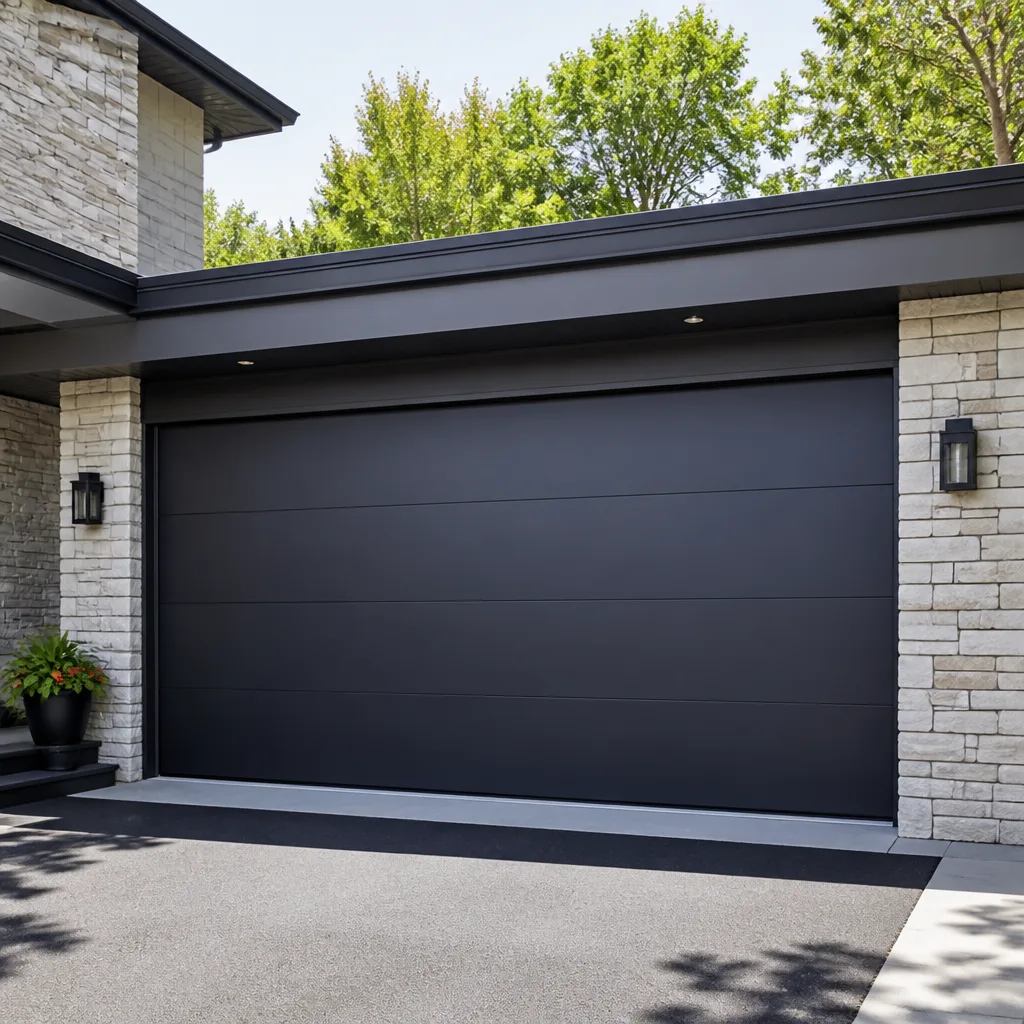 Modern flush
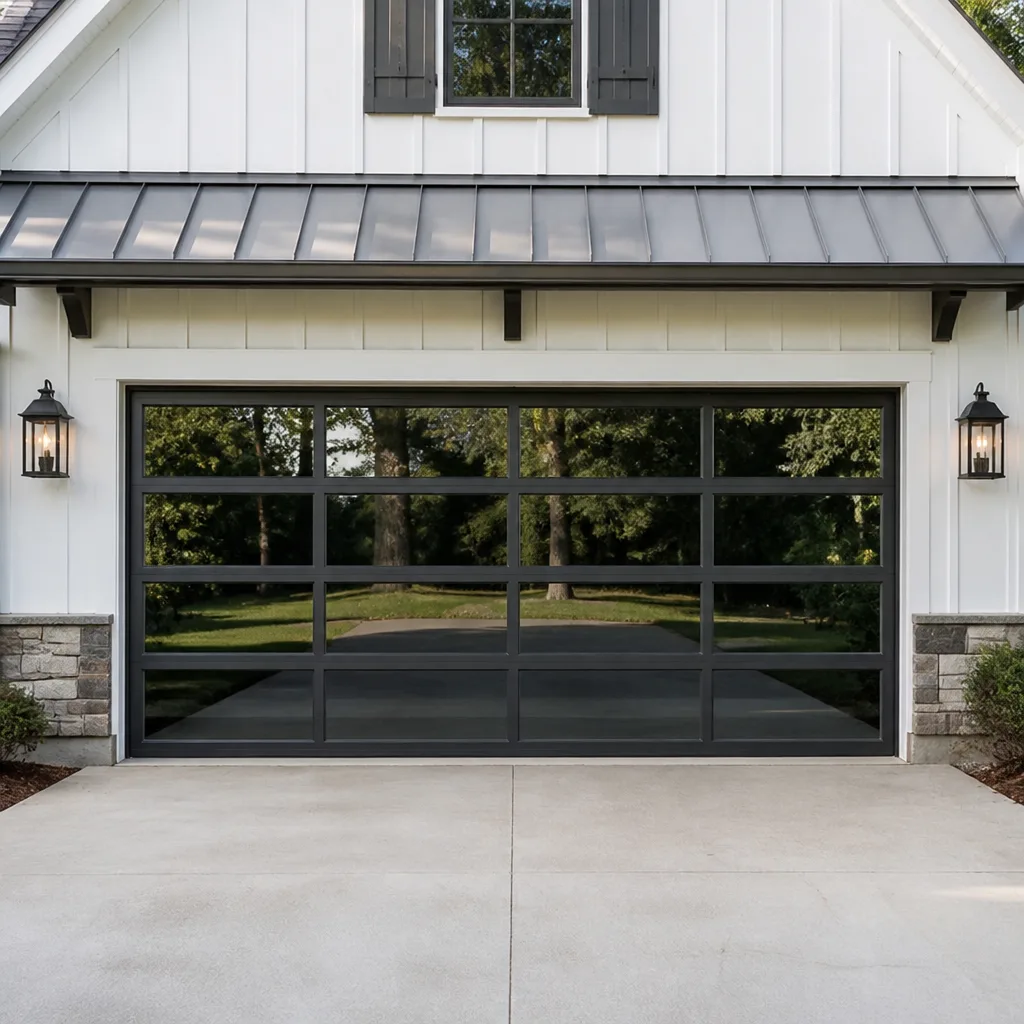 Full-view glass
 LiftMaster openers
 Chamberlain openers
Full 25-point door and opener safety check with every visit - springs, cables, rollers, tracks, and your LiftMaster or Chamberlain opener included
You get a price before we start. It does not change when the truck arrives.
Get your free estimateDIY vs Professional Garage Door: The Henderson Homeowner’s Decision Guide
Torsion spring replacement sends an estimated 20,000 Americans to emergency rooms every year. Not because those homeowners lacked mechanical ability. Because a spring wound under 150-plus foot-pounds of torque doesn’t care how carefully you watched the tutorial. One slip with a winding bar, and the spring releases everything it’s holding into whatever is closest: your hand, your face, your arm. This guide draws a precise line between the garage door tasks a Henderson homeowner can handle in a Saturday afternoon and the ones that belong in the hands of a trained tech. No hedging, no generic warnings. Just a straight answer on where safety ends and savings begin.
Quick Answer
Henderson homeowners can safely handle four garage door tasks themselves: lubrication, sensor realignment, remote programming, and bottom seal replacement. Torsion spring work, cable replacement, and track realignment require a trained professional because the stored energy and structural load involved can cause severe injury or death if mishandled. The smart approach is to do the safe maintenance yourself and call Garage Door Repair in Henderson for anything that involves wound springs, cables under tension, or a door that’s come off its track.
Styles & brands we work with
Table of Contents
- What a Henderson Homeowner Can Safely Do: Four Tasks That Are Genuinely DIY
- What Requires a Professional: Three Tasks Where the Math Changes Permanently
- The Henderson Cost-Benefit Calculation: What You Save vs. What You Risk
- DIY Diagnostics: How to Show Up at the Service Call Already Ahead of the Problem
- The Three Checkpoints: What to Verify Before You Hire Anyone for the Pro-Side Work
- How Henderson’s Climate and Housing Stock Shape the DIY Decision
- Brand-Specific Notes: What Your Door’s Nameplate Tells You
What a Henderson Homeowner Can Safely Do: Four Tasks That Are Genuinely DIY
We’re going to be direct about this. There are exactly four garage door tasks we’d hand to a homeowner without hesitation. These don’t involve stored energy, they don’t put you under a suspended load, and the consequences of getting them wrong are measured in minutes of frustration, not trips to the ER. In our experience across Henderson, these four cover roughly 80% of the “my garage door is acting up” complaints that aren’t actually broken components. For a deeper look at what belongs on your annual to-do list, see our Garage Door Repair Maintenance Checklist for Henderson Homeowners.
1. Lubrication: The Ten-Minute Task That Prevents Half Our Calls
Garage doors hate two things more than anything else in the Henderson climate: dry metal and dust. The Mojave air pulls moisture out of everything, and what doesn’t get dry gets coated in fine desert grit. Lubricating the moving parts twice a year is the single highest-value maintenance task you can do.
- Buy a garage door specific spray lubricant. Not WD-40. What you want is a white lithium grease spray or a silicone-based garage door lubricant. WD-40 is a solvent that cleans, then evaporates, leaving metal drier than before.
- Spray the torsion spring lightly along its entire length. The coating prevents rust and helps the coils move against each other as the door cycles.
- Spray the hinges on each of the door’s sections. Use the little straw nozzle and hit the pivot point, not just the flat surfaces.
- Spray the rollers. If your rollers are metal, hit the bearing area where the wheel meets the stem. If they’re nylon, you can spray the stem only. The nylon wheel itself doesn’t need lubrication.
- Spray the end bearing plates where the torsion tube passes through the brackets above the door.
- Wipe away any excess with a rag. You want a film, not a drip line.
That’s it. Ten minutes, twice a year, and you’ve eliminated the most common cause of noisy operation and premature roller wear we see in Henderson garages.
2. Sensor Alignment: The 6-Inch Fix for a Door That Won’t Close
The photo eyes near the bottom of your door tracks are a safety feature, not an obstacle. If your door refuses to close and the opener blinks twice, the sensors are telling you they can’t see each other. In most Henderson homes, they’ve been bumped by a bicycle, a garbage can, or a car tire. Realignment is a five-minute fix.
- Look at both sensors. Each has a small LED light. One glows green, one glows amber. If either light is off or flickering, the sensor isn’t aligned or isn’t getting power.
- Check that the sensors are at the same height. The brackets they sit on bend easily. If one bracket is tweaked, gently bend it back until both sensors face each other squarely.
- Loosen the wing nut holding each sensor in place, adjust the angle until the lights glow steady, then tighten the nuts back down.
- Test the door. If it still won’t close, wipe the sensor lenses with a dry cloth. Henderson’s dust settles on everything, and a coated lens reads as a blocked beam.
Still blinking after that cleanup? The problem may be a broken wire, not a misaligned sensor. That’s a Garage Door Opener Repair in Henderson call, not a second DIY attempt.
3. Remote Programming: Reset, Reprogram, Done
We hear this one constantly across Henderson: “My remote just stopped working, so I need a new opener, right?” Wrong. Remotes are cheap and programmable. The opener itself is likely fine. Programming a replacement remote takes under two minutes on most doors with a learn button.
- Locate the learn button on the opener motor head. It’s a small, recessed button, usually colored red, yellow, purple, or green depending on brand and the opener’s age. You may need a stepladder.
- Press and hold the learn button until the LED next to it lights up. On most openers, you now have about 30 seconds to complete the next step.
- Press the button on your remote you want to program. The opener light should flash or you’ll hear a click. The remote is now paired.
- If it doesn’t take the first time, repeat the sequence. Some brands like LiftMaster require you to hold the remote a specific distance from the antenna. Closer is not always better; about 3 feet usually works.
If you’re reprogramming after losing a remote, always clear the opener’s memory first by holding the learn button for about 6 seconds until the LED goes out. That erases every remote from the opener’s memory, so a lost remote can’t open your door. Then reprogram the remotes you still have. The process is brand-specific, but the principle is identical across LiftMaster, Chamberlain, and Craftsman openers.
4. Bottom Seal Replacement: The DIY Job That Pays for Itself in One Summer
Henderson’s summer heat doesn’t just make your garage uncomfortable. It makes the air conditioner working in the room above the garage run harder and longer. The bottom seal is a rubber or vinyl strip on the bottom edge of the door that blocks the gap between the door and the concrete. When it’s cracked, baked hard, or missing chunks, that gap is a direct channel for 105-degree outside air.
Replacement is straightforward. Slide out the old seal from the aluminum retainer channel, cut the new one to length, and slide it in. One thing we’ll flag for Henderson specifically: the sun-facing side of your bottom seal bakes year after year. When you replace it, hold it up to the light and bend it. If it’s porous or crackly in the package, it’s been sitting on a shelf too long. Get a fresh one.
Cost for the seal itself at a Henderson hardware store: $30 to $60 depending on door width. A service call to have it replaced: usually $85 to $150. If you’re physically able to pull the old seal out and slide the new one in, this is one of the clearest DIY wins in the whole guide.
What Requires a Professional: Three Tasks Where the Math Changes Permanently
Now the line gets real. These three tasks are not “harder versions” of the ones above. They involve different physics. The components involved store energy or bear load in ways that don’t forgive mistakes. Here’s exactly why each one crosses the line.
Torsion Spring Replacement: The Why, Plainly Stated
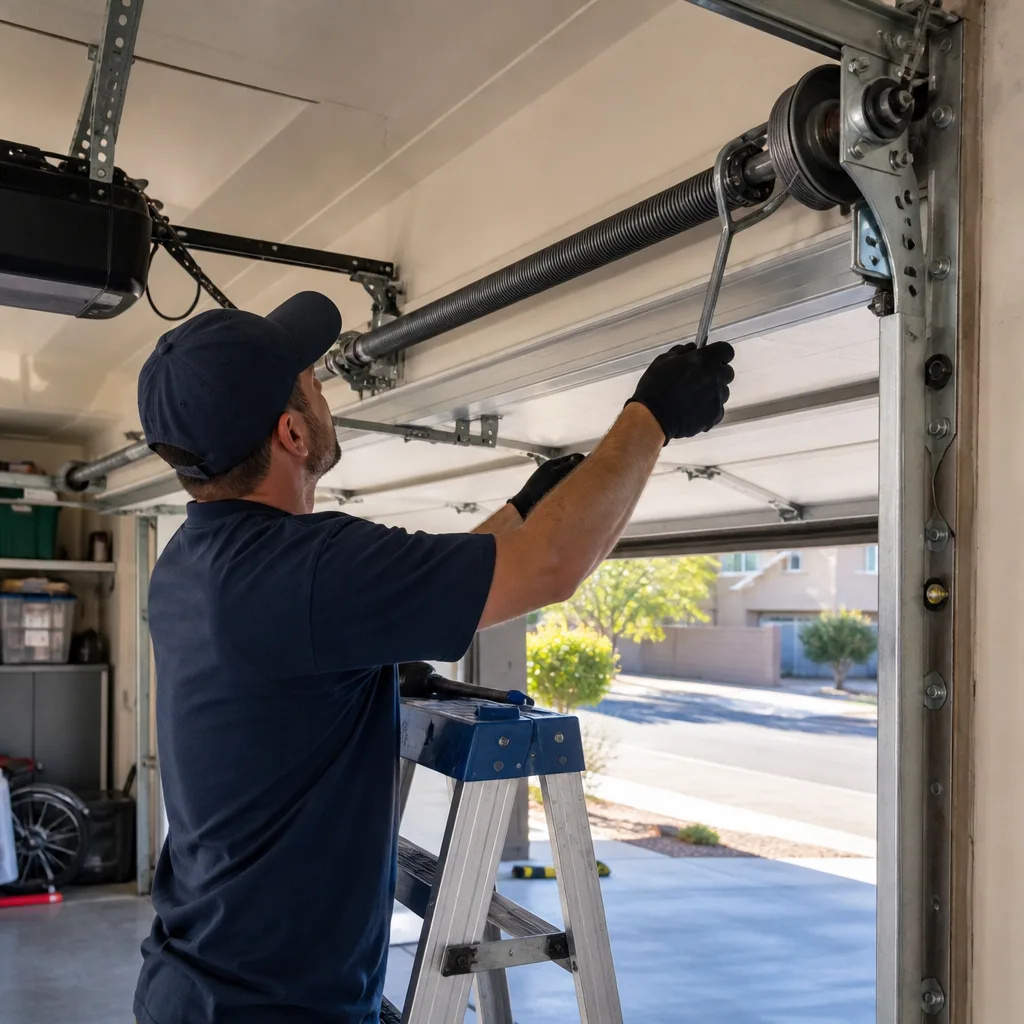
The torsion spring is the thick coiled spring mounted on a horizontal bar directly above the closed door. It bears nearly the entire weight of the door every time the door moves. A typical 16-foot double garage door weighs somewhere around 150 to 180 pounds. That means the spring must counterbalance that weight constantly, and when it breaks, all the energy it was holding has to go somewhere.
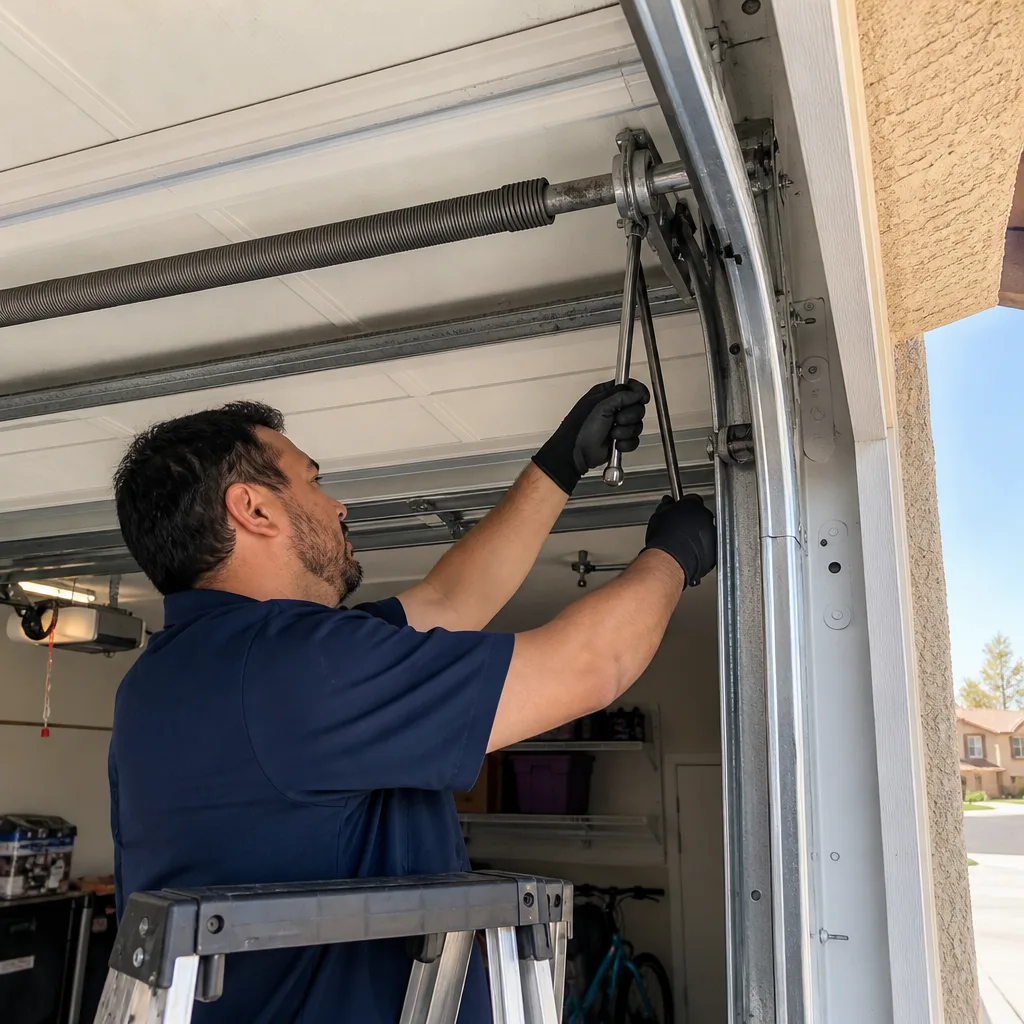
Here’s what every YouTube video on spring winding understates: the tool you’re using to wind and unwind the spring is a pair of metal rods inserted into the winding cone. If one of those rods slips, the cone spins backward with the full stored torque of the spring behind it. That’s 150-plus foot-pounds released in a fraction of a second into whatever is holding the rod. Usually a hand. Sometimes a wrist. Often a face, if the tech or homeowner is standing in the wrong position.
Even when the winding goes well, the next risk is setting the correct number of winds. Too few, and the opener strains and burns out its motor. Too many, and the door flies up when released and the cables jump the drums. We’ve repaired Henderson garage doors where a homeowner wound a spring “to where it felt right” and the door came off its tracks on the third cycle.
The injury risk here isn’t hypothetical. The 20,000 ER visits figure isn’t a marketing number. It’s the annual estimate from the Consumer Product Safety Commission for garage door related injuries, and torsion springs are the leading cause. This is the single most dangerous task in residential garage door work, and no instruction, no matter how good, changes the stored-energy physics.
Cable Replacement: Under Tension Even When the Door Is Closed
Garage door cables are the steel wires that run from the bottom brackets on each side of the door up to the drums mounted at the end of the torsion bar. Their job is to transfer the spring’s lifting force to the door. Here’s the part most homeowners don’t realize until it’s too late: the cables are under tension even when the door is fully closed. If a cable is frayed and it snaps while you’re working near it, the broken end whips through the air with enough force to cut through clothing and skin.
The other reality with cables is that they fail for a reason. A frayed cable usually means the door is out of balance, or a drum is worn, or the spring was wound incorrectly. If you replace only the cable without addressing the underlying cause, the new cable fails in weeks or months. That means cable work isn’t just dangerous in the moment; it requires diagnostic knowledge to do properly. At Garage Door Cable Repair in Henderson, most repairs run $150 to $275 depending on cable type and drum condition, and that includes checking what caused the failure in the first place.
Track Realignment: The Structural Task Nobody Should Do Alone
The tracks are the vertical and horizontal channels the door rollers ride in. When a track is bent or knocked out of alignment, the door binds, jumps, or in severe cases, comes off the tracks entirely. The danger here is the suspended load. A 160-pound door off its track is being held by whatever is left, and removing or adjusting the wrong bolt can bring the whole door down at once.
Track work also involves brackets connected to the wall with lag bolts under shear load. In Henderson’s older homes with softer stud framing, those lag bolts may have decades of stress on them. If a bracket pulls out while the door is in motion, the door drops on one side and everything attached to it torques violently. This is a task you handle with the proper equipment and a second person who knows what they’re doing, not a socket set and an afternoon.
The Henderson Cost-Benefit Calculation: What You Save vs. What You Risk
Let’s put real numbers on this. The honest math is the only thing that matters here, and we’ll show the work.
The DIY Savings: Legitimate and Real
- Lubrication: Doing this yourself costs about $12 for a can of proper garage door lubricant. Having a tech do it as part of a service call adds $25 to $50. Annual savings: $40 to $80.
- Sensor alignment: The DIY cost is zero dollars and five minutes. Having a tech out to realign sensors is a $75 to $125 service call in Henderson. Savings: full price of the call.
- Remote programming: A replacement remote runs $20 to $40 at a Henderson hardware store or online. A service call to program it: $75 to $125. Savings: $55 to $85.
- Bottom seal replacement: The seal itself costs $30 to $60. Professional replacement runs $85 to $150. Savings: $55 to $90.
Total legitimate annual DIY savings for a Henderson homeowner who does all four tasks: roughly $150 to $250 per year. That’s real money, and we’ll never tell you to call a pro for things you can handle.
The DIY Risk: The Numbers That Don’t Show Up until They Do
- Broken torsion spring, DIY attempt: An ER visit for a hand or forearm injury from a slipped winding bar can run $3,000 to $8,000 even with insurance. Without insurance, $10,000 to $30,000 is not unusual. That’s before lost work, physical therapy, or permanent loss of grip strength.
- A door that comes off its tracks after an improperly wound spring: Repairing that level of damage typically runs $300 to $600. The spring you were trying to save $180 on now costs double or triple in repairs.
- A cable snap that damages a vehicle parked under the failing door: A dented hood, broken windshield, or scratched roof starts at $500 and can run $2,500 or more, depending on the vehicle. Homeowner’s insurance may cover it, but your deductible applies, and so does the claim on your record.
- An opener motor burnout from a door that was never balanced after the spring work: A new LiftMaster or Chamberlain motor plus installation runs $350 to $550. The spring savings just disappeared, plus interest.
Here’s the clear-eyed summary. The safest DIY tasks save real money. The dangerous DIY tasks don’t even save money when they go right. A pair of torsion springs at Henderson hardware prices costs $90 to $150. Professional replacement costs $180 to $340, and includes balanced door setup, cable verification, and a written guarantee. The marginal savings of maybe $90 to $190 versus the downside risk of a five-figure medical bill and a door that comes off its tracks twice a year. That’s not a calculation, that’s a warning.
DIY Diagnostics: How to Show Up at the Service Call Already Ahead of the Problem
Here’s where DIY genuinely changes the economics of a pro repair. A homeowner who can describe the problem precisely saves the technician diagnostic time. In Henderson, where service calls are billed in labor time just like everywhere else, twenty minutes of your time running three simple tests can turn a $300 repair call into a $180 call. Here’s the diagnostic sequence.
The Balance Test: 60 Seconds, One Tool, No Risk
- Close the door completely. Disengage the opener by pulling the red emergency release handle hanging from the opener rail. This puts the door in manual mode.
- Grab the door handle and lift. The door should rise smoothly with one hand and hold position at the halfway point without moving.
- Release the door at the halfway point. If it holds still, the spring is balanced. If the door rises on its own, the spring is overwound. If the door drops, the spring is under-sprung or failing.
- Pull the door back down and re-engage the opener by pulling the release handle toward the motor head until it clicks.
The moment a door stops holding position at the midpoint is the moment the spring is no longer doing its job. Catching that early prevents the eventual snap and the damage that follows.
The Reversal Test: The Safety Check That Protects Your Kids and Your Car
- With the opener engaged and working normally, place a 2×4 or a roll of paper towels flat on the floor directly under the door’s path.
- Close the door with the remote or wall button. The door should hit the obstruction and reverse to fully open within two seconds of contact.
- If the door crushes the obstacle or grinds into it for more than a couple seconds before reversing, the force adjustment is too high. This is a serious safety defect and needs correction.
- Test the photo eyes separately by waving a hand or a broom handle through the beam while the door is closing. The door should reverse immediately. If it doesn’t, the sensors need realignment or replacement.
Federal law requires every automatic opener since 1993 to reverse on obstruction. If your opener is older than that, or if the reversal test fails, the fix is urgent. This is a case where you call for opener service, not a case where you adjust things by trial and error.
The Visual Inspection Sequence: 4 Minutes, Eyes Only
- Stand inside the garage with the door closed and look up at the torsion spring. Check for gaps in the coils. A spring that’s broken will show a clear separation. A spring about to break often shows shiny wear marks or thin spots you can see from the ground.
- Look at the cables on both sides. Run your eyes along the full length of each cable from the bottom bracket to the drum at the top. Look for frayed strands, rust, or any cable that looks thinner than its twin.
- Watch the door open once and close once. Listen for grinding, thumping, or any spot where the door hesitates. Watch the rollers in the tracks. A roller that’s shot will wobble or seize.
- Look at the bottom seal. Run your hand along it from inside the garage. If you feel cracks, flat spots, or daylight, it’s due for replacement.
When you call us after running this sequence, the conversation changes. You tell us “the door drops from the halfway point and there’s a visible gap in the spring,” and we arrive knowing the spring is broken and the door needs rebalancing after the replacement. That’s less diagnostic time on the clock, less time you’re paying for, and a faster resolution.
The Three Checkpoints: What to Verify Before You Hire Anyone for the Pro-Side Work
If you’ve correctly identified that your problem is in the pro-only category, the next decision is who to call. This matters as much as the decision to not do it yourself, because the garage door industry has a real problem with pricing that moves at the door and guarantees that evaporate after the truck leaves. In Henderson, you can filter most of the bad actors with three checkpoints.
Checkpoint One: Written Price Before Any Work Starts
The number one complaint from homeowners who have been burned by garage door repair is the invoice that doesn’t match the quote. A tech says “it looks like $180,” then presents a bill for $340 after the job with a list of things that “weren’t covered” in the estimate. The fix for this is simple. The price is written down and handed to you before anything is touched. If the company won’t write it down, the price is going to move. No exceptions.
Brock Garage Doors Henderson operates on The Garrison Standard, which includes a written price before any work begins. The number on the invoice matches the number you approved. That’s not a policy, it’s the entire point.
Checkpoint Two: Written Warranty With a Specific Term
“Guaranteed” means nothing if there isn’t a piece of paper that says what happens when the repair fails. A verbal promise lasts until the truck turns the corner off your street. A written guarantee with a specific term means you can hold the company to the promise.
Every repair we do comes with a 365-Day Done Right Promise in writing. If a covered repair fails within a full year, we come back and make it right at no charge. The free second visit isn’t a fee item or a negotiation. It’s part of every job. Wade Mercer, owner at Brock Garage Doors Henderson, has built the entire operation on the premise that a written guarantee is a standard that separates a real trade operation from a truck with a logo.
Checkpoint Three: Licensing, Insurance, and a Real Human at the Door
Nevada requires garage door contractors to be licensed with the Nevada State Contractors Board. You can verify a license number on the NSCB website in under a minute. The company should carry general liability insurance and workers’ compensation coverage. If a worker gets injured on your property and the company doesn’t carry workers’ comp, you can be personally liable for the medical costs. That’s a seven-figure risk you never see coming.
Beyond the paperwork, verify who actually shows up. Every technician who arrives at a Henderson home on a Brock call is background-checked and uniformed. You know who you’re letting into your garage before you open the door. That matters in a city where door-to-door contractors are a routine summer sight.
How Henderson’s Climate and Housing Stock Shape the DIY Decision
Henderson isn’t Phoenix, and it isn’t Vegas, even though it shares the state line with both. The specifics of this city’s climate and housing stock change the DIY calculus in ways that generic garage door guides never address.
The Mojave Heat Effect
Henderson averages over 100 days per year at or above 100 degrees. That sustained heat does two things to a garage door. First, it bakes the rubber and vinyl components on the door: the seals, the weatherstripping, the insulation strips. The bottom seal on a south-facing door in Green Valley or Anthem hardens and cracks twice as fast as one in, say, the Pacific Northwest. The second effect is torque loss in the spring. It’s a steel coil, and it’s cycling through extreme temperature swings every day: 105 at midday, 75 at 3 a.m. in July. That thermal cycling wears the metal down faster than a stable climate would.
What this means for the Henderson homeowner: the useful life of a torsion spring here is 7 to 9 years, not the 10 to 12 years you’d expect in a milder market. The bottom seal is a 3-year item, not a 5-year item. The DIY maintenance tasks in this guide matter more in Henderson than they would elsewhere because the environment is harder on the components.
The HOA Factor
A meaningful percentage of Henderson homes sit in HOA communities with rules about garage doors: color, style, and in some neighborhoods, whether the door can be left open during the day. Before you tackle a DIY door replacement or even a major component change, check your HOA’s architectural guidelines. Some communities in Anthem, Inspirada, and MacDonald Highlands require board approval before a garage door can be changed to a different style or material. That’s a paperwork step that can take weeks, and it applies regardless of whether you do the work or hire it out.
The Older Stock Problem
Henderson’s housing boom happened in waves. The older homes near Water Street and the Boulder Highway corridor were built in the 1960s through the 1980s, and many still have their original door hardware or replacements from the 1990s. Those doors are heavier than modern ones, with wood-frame panels or solid steel in gauges that aren’t used anymore. A spring that balances a 180-pound door is under more load than one on a modern 120-pound door, and that changes the math on when it’s going to fail. If you’re in an older Henderson home and your door is heavy, wooden, or dates back more than 25 years, the spring work is even less of a DIY candidate than it would be on a newer house.
Brand-Specific Notes: What Your Door’s Nameplate Tells You
Most homeowners don’t know what brand their garage door is until something breaks. Then they look up and see a nameplate they’ve never noticed. The brand matters because it determines parts compatibility, spring sizing, and whether the DIY tasks in this guide apply the same way. Here are the three brands we see most often in Henderson garages and what they mean for the homeowner.
Wayne Dalton: The TorqueMaster Wrinkle
Wayne Dalton doors are common in Henderson’s newer developments. Many of them use a TorqueMaster spring system instead of the traditional exposed torsion spring. The TorqueMaster is a spring enclosed inside a metal tube above the door, and it winds differently than a standard spring. The safety implications are different, but so is the repair process. A Wayne Dalton with a TorqueMaster can’t be serviced the same way as a standard torsion spring. This is relevant because some homeowners assume the enclosed tube means the spring isn’t dangerous. It absolutely still is. The tube just hides the stored energy.
Craftsman and LiftMaster: The Opener Ecosystem
Craftsman openers are built by Chamberlain, and they share the same core technology as LiftMaster and Chamberlain branded openers. That matters mostly for DIY remote programming. The steps are nearly identical across all three brands: a learn button on the motor head, a 30-second programming window, and a pairing sequence. If you program one, you can program any of them. The brand distinction matters more when it comes time to replace an opener. For additional guidance, explore more guides & resources on our blog. If you have a Craftsman opener from the 2000s that finally dies, don’t assume you need to replace it with another Craftsman. You can move to a LiftMaster or Chamberlain with the same rail system and often the same mounting points, which saves installation labor.
Raynor: The Mid-Tier Mainstay
Raynor doors are less common in Henderson than they were 20 years ago, but they still show up in homes built in the late 1990s and early 2000s, especially in the Green Valley and older Seven Hills areas. Raynor’s construction is solid, but parts support has thinned out in recent years. If you have a Raynor door and a roller or hinge fails, the aftermarket options are limited compared to Clopay or Amarr. That means repair sometimes requires a full component swap rather than a part match, and that’s a decision best made by someone who can look at the door and tell you what’s actually available.
Common Mistakes to Avoid
- Attempting a spring replacement with screwdrivers instead of winding bars. Winding bars are steel rods sized to fit the winding cone holes. A pair runs under $20, and they’re still not sufficient on their own to make the job safe. Screwdrivers are a broken wrist waiting to happen.
- Skipping the reversal test because “the door works fine.” The reversal test isn’t about the door’s operation; it’s about the opener’s safety circuit. A door that closes properly but fails to reverse on obstruction is a danger to anyone small enough to be pinned under it, including pets.
- Buying the cheapest replacement spring you can find online. Springs are rated by cycle life, typically 10,000, 20,000, or 30,000 cycles. A 10,000-cycle spring on a Henderson door that cycles 4 times per day lasts less than 7 years. Spend the extra $30 for a 20,000-cycle spring and get a decade instead.
- Replacing a cable without determining why it failed. Cables fail for a reason: a worn drum, a misaligned track, a spring that’s out of balance. Put a new cable on the old problem, and you’ll be replacing it again in a matter of weeks, and this time the door may come down when it goes.
- Ignoring a door that’s making new noises. Grinding, popping, and squealing aren’t parts of a garage door’s normal vocabulary. A Henderson door that worked quietly for five years and suddenly pops when it opens is telling you something specific. Waiting until the spring snaps in the middle of the night is more expensive than catching it early.
- Assuming every garage door company in Henderson is roughly equivalent. The difference between a shop that writes the price down and stands behind it for a year versus one that gives verbal estimates and has no warranty to violate is the difference between a repair that stays fixed and a call you make twice.
- Doing any pro-level task on a double-wide door while alone. Even track alignment, which we’ve already flagged as pro-only, doubles in risk when there’s no second person to call for help. A single-car door is heavy; a 16-foot double door is unforgiving.
See the difference
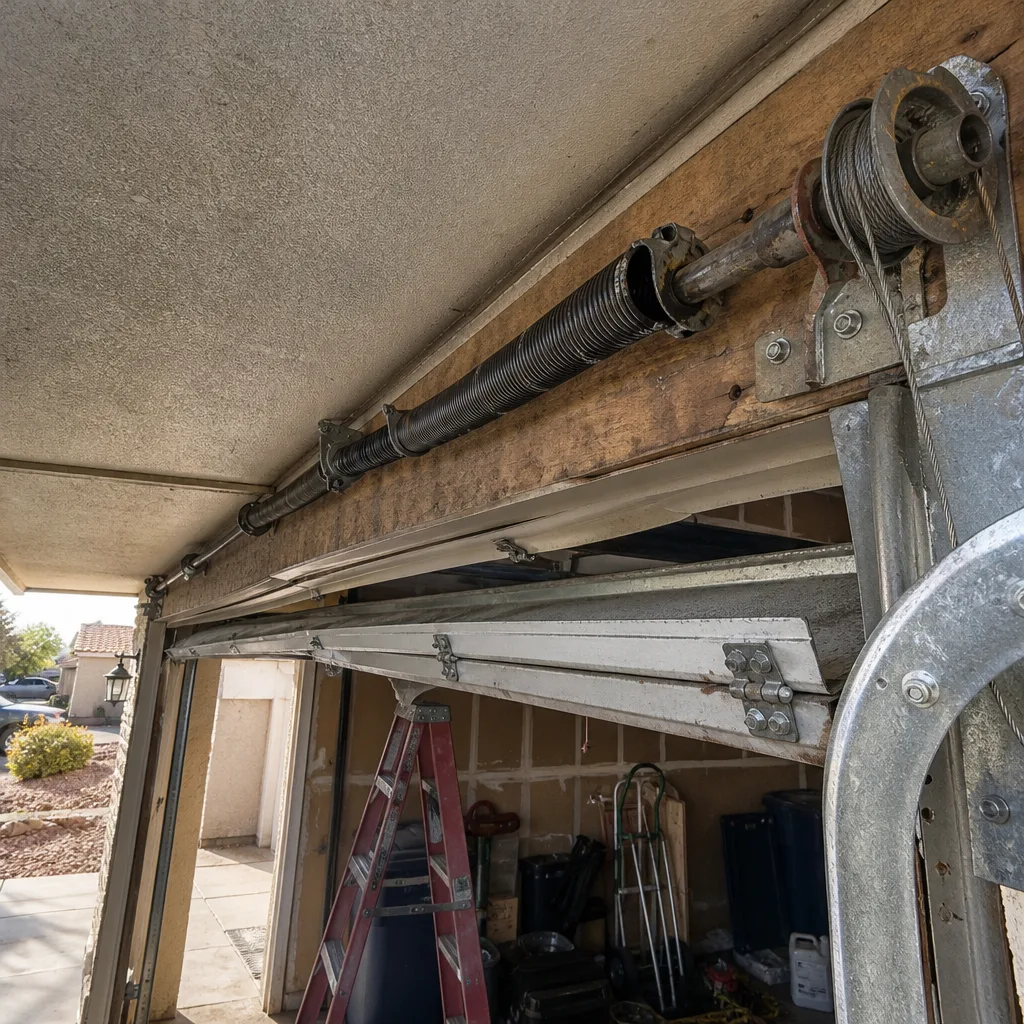 Before
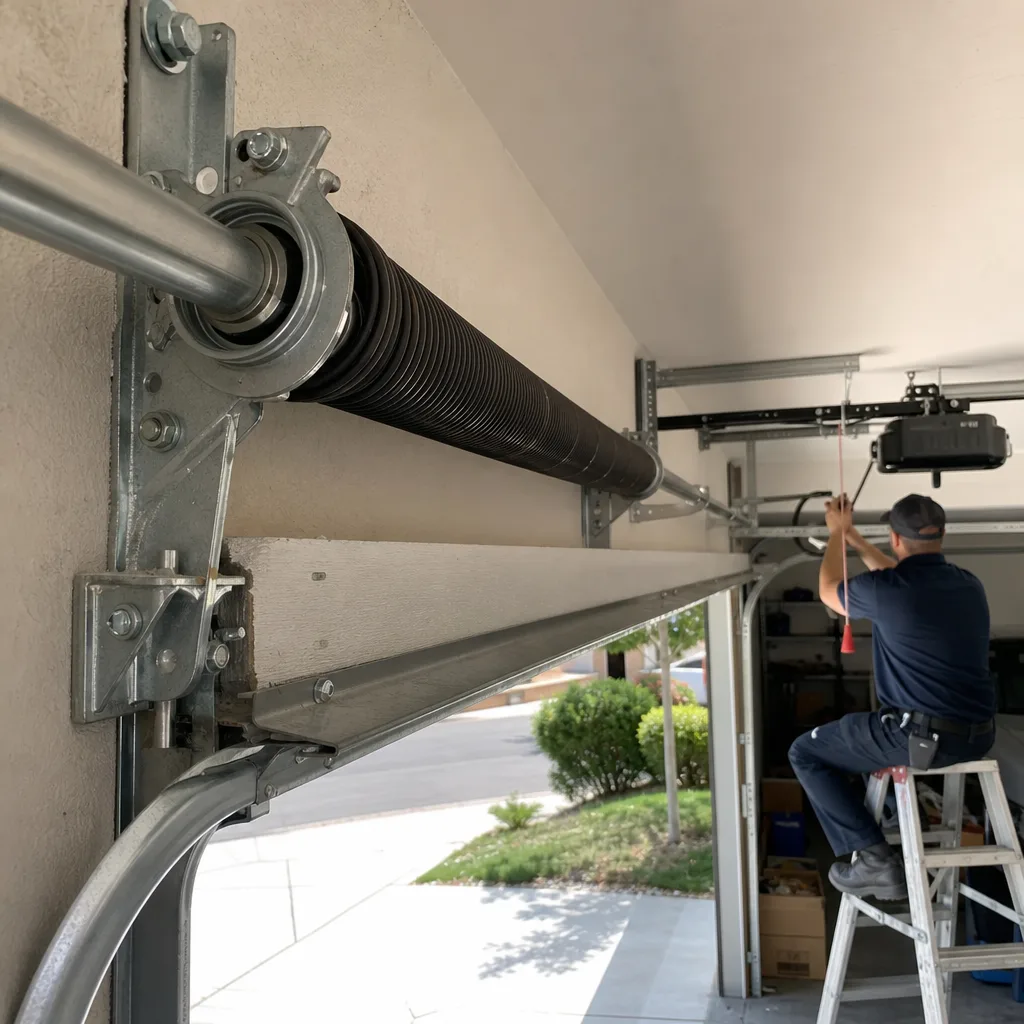 After
After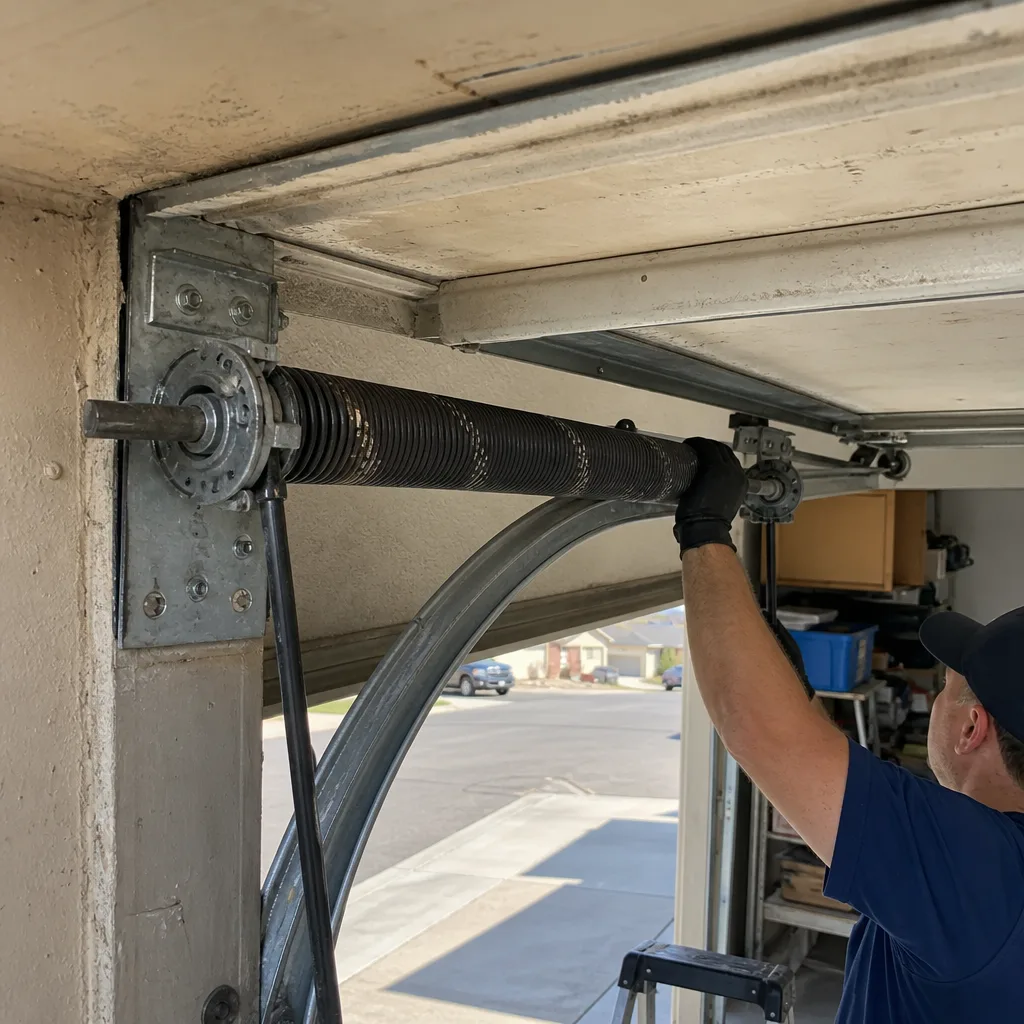 Before
 After
After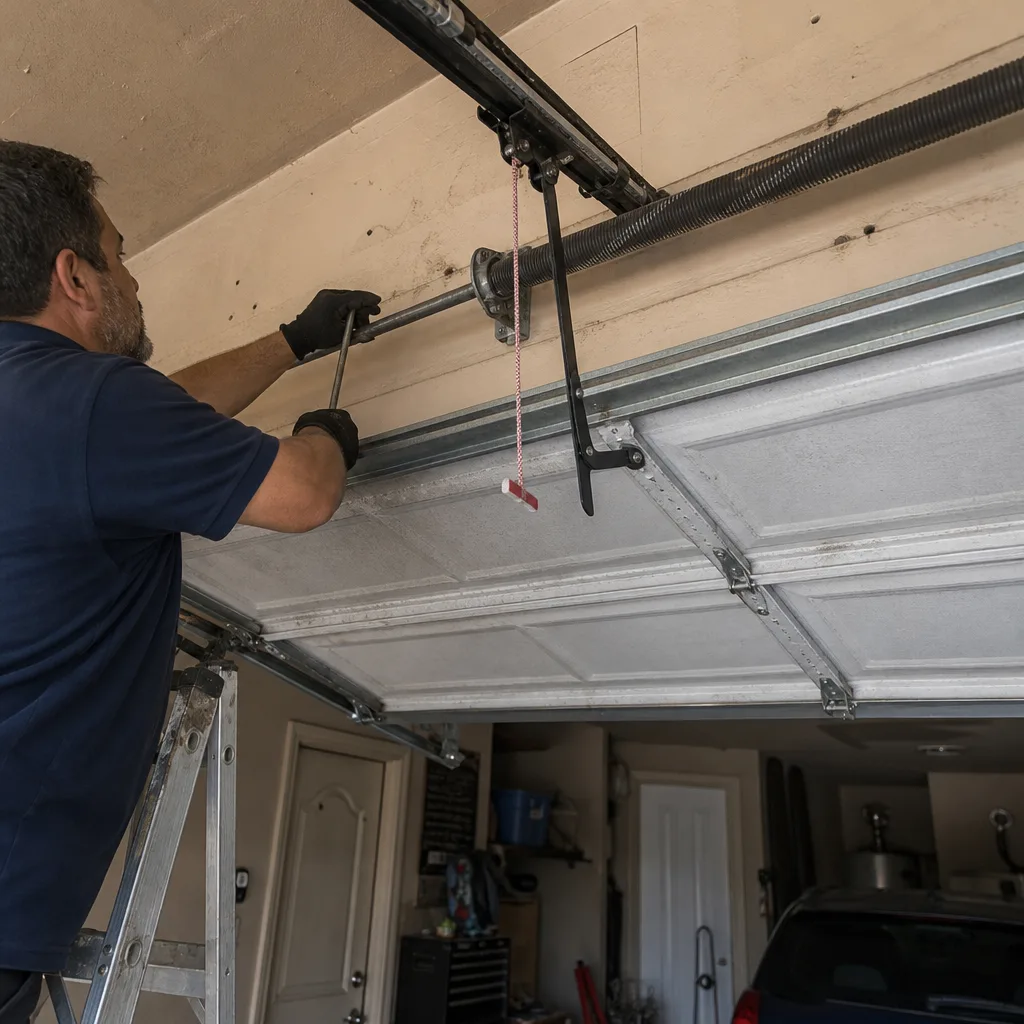 Before
 After
AfterWhen to Call a Professional
The line is clear. If the task involves winding or unwinding a spring that stores the door’s lifting energy, call a pro. If a cable is frayed, snapped, or has come off its drum, call a pro. If the door has come off its tracks or a track is bent, call a pro. If the reversal test fails and the door keeps closing on an obstruction, call a pro. If you’ve run the balance test and the door won’t hold position at the midpoint, the spring is on its way out, and that’s a pro diagnosis followed by a pro repair. None of these are judgment calls. They’re physics.
Brock Garage Doors Henderson offers free estimates throughout Henderson. We service LiftMaster, Chamberlain, Genie, Clopay, Amarr, Wayne Dalton, Craftsman, and Raynor systems, and a real person answers the phone 24 hours a day, seven days a week, including holidays. Call (775) 458-8864 for a written price before any work starts. If you find us through the Brock Garage Doors Henderson home page, the same written pricing and 365-day guarantee apply.
Frequently Asked Questions
Professional torsion spring replacement in Henderson typically runs $180 to $340 for a standard double door with a pair of springs, including the new springs, balance testing, and verification that the cables and drums are working correctly. DIY spring purchase costs $90 to $150 at local hardware stores, which is not a meaningful savings once you account for the injury risk and the cost of correcting an improperly balanced door.
We don’t recommend it. Cables are under tension even when the door is closed, and a snapped cable can whip with enough force to cause deep lacerations. Most cable repairs in Henderson run $150 to $275, and a professional repair includes diagnosing what caused the cable to fail in the first place. Call (775) 458-8864 for an exact quote and we’ll send a background-checked, uniformed technician to assess it.
Attempting to replace a torsion spring with improvised tools. The winding bar needs to seat fully into the winding cone, and any slip releases the spring’s full stored torque into the person holding the bar. This is the leading cause of garage door related ER visits in the United States, and it’s completely prevented by hiring a professional for spring work.
Twice a year, ideally in April and October, before and after the peak summer heat. Henderson’s dry desert air and summer dust load wear on the door’s moving parts faster than a more humid climate would. Use a white lithium or silicone-based garage door lubricant, never a penetrating solvent like WD-40.
Yes. Every job receives a written price before any work begins, and the number on the final invoice matches the number you approved. The written price is part of The Garrison Standard, which applies to every job Brock Garage Doors Henderson performs.
Every covered repair we perform is guaranteed in writing for a full year from the date of service. If the repair fails within that window, a technician returns and corrects it at no additional charge. The guarantee is written, not verbal, and it applies to every job, not just select ones.
The Bottom Line
The DIY-versus-pro question on a garage door isn’t about how handy you are. It’s about which side of the stored-energy line the task falls on. Lubrication, sensor alignment, remote programming, and bottom seal replacement are legitimate homeowner tasks that save real money over time. Torsion spring replacement, cable work, and track realignment involve forces that don’t tolerate mistakes, and the savings from doing them yourself are small compared to the potential cost of getting them wrong. Run the diagnostics. Do the safe maintenance. And when the line is crossed, call someone who writes down the price and stands behind the work for a year.
Written by Wade Mercer, Owner at Brock Garage Doors Henderson, serving Henderson since 2001.